
Stardew Valley Crop Guide
I just can’t get enough of this farming sim! Stardew Valley is perhaps one of the most addictive games I’ve played yet. Now that I’ve got a few seasons under my belt, it is only fair that I share some tips to getting the most out of your game.
My Stardew Valley crop guide will help you with a few suggestions for growing your farm into a goldmine of wholesome goodness! As I post more content on growing crops, I will update this guide with more information. Feel free to check back every so often!
Seasonal Crop Guide
There are four seasons in the world of Stardew Valley. Each season brings a different flavor of crops to grow, and some can even be grown across multiple seasons. At the end of the season, some plants will die out.
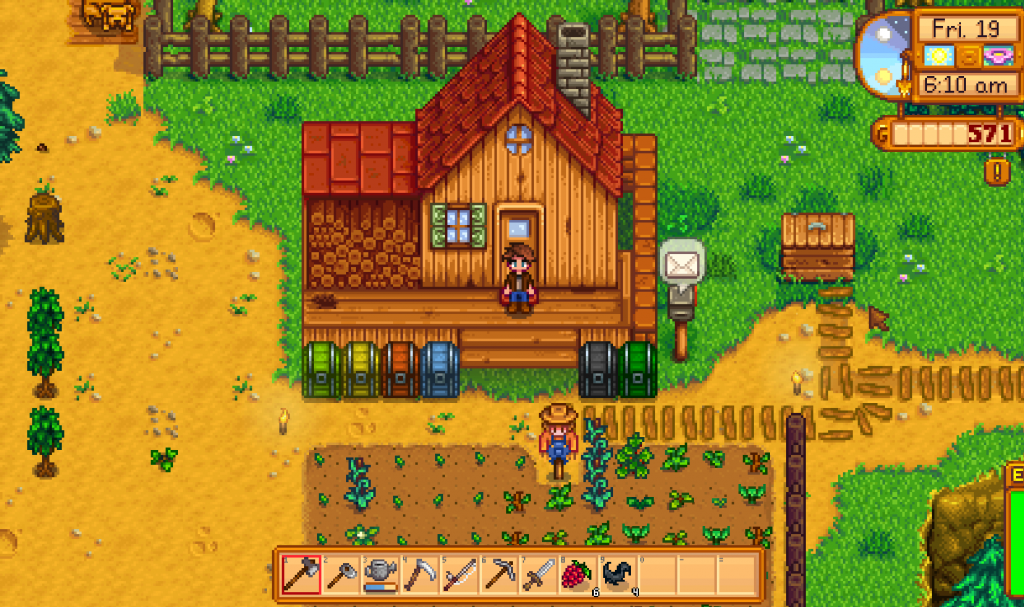
What to expect on Day 1
In the beginning, you get a bit of a cold reception arriving in the valley; no one knows who you are, and to be honest, some people come off as pretty prickly at times (looking at you, Shane and Haley!) You don’t have much to offer the townspeople.
It’s best to get your farm off the ground before you go searching for friends. You’ll need a steady income in order to buy the things you need to get ahead in the game. Once you have money, you’ll have plenty of time to socialize and make friends.
Start by clearing up the space around your farmhouse. If you plan on growing a lot of crops, you should only clear as much as you need. Remember that clearing weeds with your scythe does not use up energy, so you can always use your remaining time for this task.
How to Farm
For a game designed around growing a farm, this is the most straightforward thing to do. Your farm has a grid layout, where each “tile” represents a patch of land on which you can till, dig, and grow crops.
Assuming that you have cleared up enough space to work the land, you will need to get it ready for seeds. Use your Hoe on a tile of dirt to till it, making the land ready for sowing seeds. You should till as many tiles as you have seeds to plant, but also remember that using your Hoe also uses up precious Energy, so don’t till too much!
Once you have a patch of tilled land, it’s time to start planting. Simply equip your desired seeds and move around the tilled land, clicking on each tile to sow the seeds. If you have fertilizer, you can also lay some down the same way as seeds. I recommend doing this before sowing seeds, so that you can see if you missed a tile.
Crops need water every day in order to grow. Equip your Watering Can and click on each tile of sown seeds to splash some water on it, and repeat until each tile of dirt is thoroughly wet. The next day, you repeat the watering once again.
If you have been consistent with your watering, you can expect to have your crops all ready for harvest in time. Keep in mind that on rainy days, your crops are automatically watered, saving you time and Energy.
Growing Times of Crops
When growing crops, it is important to note the number of days required until they reach maturity. Each and every crop has a different growing time, and needs to be watered every day until they are ready for harvest.
An easy way to find out when a particular crop will be ready is this: Add the number of days of growing time to your current day, and you’ll get the actual day that the crop will be ready for harvest. Keep in mind that this number is assuming you are watering the crops each day, and are not using any fertilizer that would otherwise speed up the process.
For example, Parsnip Seeds take 4 days to grow; which means if you plant them on Day 1, they would be ready for harvest on Day 5. I guess you could say that the growing time listed on each seed is the number of nights needed to grow to maturity.
Don’t fret if you forget to water your plants; they will not die out. Instead, their growth will simply delay their growing times. Crops will grow every day for as long as they are watered, so try not to plant more than you can handle.
I’ve done some testing on my part, and found that multiple yield crops will still need to be watered each day in order for them to keep producing.
Plan your Farm Layout before you Start!
It’s always a good idea to decide on how you want your crops to look before you start tilling the land. When starting out, I find it very easy to manage 3×3 plots of crops, much like Harvest Moon. It’s easier to manage and water, and they look visually pleasing.
It’s a good idea to start growing crops close to a body of water if you can, as it saves a lot of legwork having to refill your watering can. Your watering can is able to be used 40 times before it needs to be refilled.
Remember that certain crops, such as grapes and green beans, grow on a trellis, which means that you cannot walk through them. It’s better to plant these crops in a nice little row, in a way that doesn’t block access to other crops. Make sure there is room to move around them!
Build Scarecrows to save your crops!
One thing to be wary of while growing crops are Crows. Every morning during all seasons except Winter, there is a chance for one or several crows to spawn on your farm. If you have any crops growing, the crows will eat them, ruining your days of hard work. Wild forage crops and seeds will not be attacked by crows, thankfully.
There is a way to keep crows from feasting on your hard work, and that is done by using Scarecrows. These are crafted once you reach Level 1 in your Farming skill, and when you place them on your farm, they will provide complete protection in a circular radius around the scarecrow. A Scarecrow is crafted with 50 Wood, 1 Coal, and 20 Fiber, all of which can be found from clearing up your farm. Scarecrows will protect crops within 8 tiles in every direction.
Keep in mind that crows will only show up if you have more than 15 crops growing at any given time, which means you can safely grow the starting Parsnips that were given. They will even increase your Farming skill enough to unlock Scarecrows.
Use Fertilizer for every crop!
Fertilizer, just like in real life farming, helps to enhance the growth of your crops, making it more likely that come harvest time, you will collect a better quality crop. These star-grade crops are worth more in profits, and also provide even better benefits if eaten or gifted to villagers.
Your overgrown farm will have lots of trees. Every tree you chop down will give you lots of Sap, which is used in crafting some basic fertilizer.
Fertilizer is used by placing it on tilled soil, before any seeds are planted. You can only use one type of fertilizer per tile, so put thought into what you intend on planting. The fertilized soil will remain there all season long, so you don’t have to worry about constantly crafting fertilizer.
Out of the fertilizers available, I recommend Quality Fertilizer, as it will increase the chances of growing a high quality crop. If you plan on turning your crops into artisan goods, you may want to use Speed-Gro instead, so that you have more crops to grow.
The Water Retaining Fertilizer is not the best to use, unless you have no other fertilizers to use. The only thing this does is provide you with the chance to not have to water a plant. There’s no guarantee that it will work. I used this once when I had no sprinklers, and lots of crops. It helped me with watering, but that energy is best used for other things.
Don’t bite off more than you can chew!
The trick is to build your farm in a way that needs no extra work on your part. The biggest mistake I made was buying a ton of seeds in bulk thinking that I could grow them all for a big profit…. without sprinklers.
Big mistake!
What I got was a field of seeds fully watered, and no energy left to do anything else for the rest of the day. Sure, those seeds eventually grew into a pile of money, but I did not have as many resources saved up for crafting some of the essential farming tools.
Sprinklers are your friends
Building sprinklers are the best because they automate the daily task of watering your crops. Every morning at 6am, sprinklers you place on your farm will water the tilled tiles all around it. At the very least, you will have 4 less crops to worry about watering, which saves your energy for more important things such as Fishing or Mining.
The basic Sprinkler waters the four adjacent tiles. It requires 1 Copper Bar and 1 Iron Bar, both of which are crafted from items found in The Mines. You unlock the Sprinkler crafting recipe at Farming Level 2. You will want to craft a number of them and arrange them so that they do not overlap with others.
Don’t sell every single crop!
Another mistake I made in my first playthrough was selling every crop I had for money. Sure, I had lots of money to buy more stuff, but when you start getting letters from villagers asking you to bring them a Melon or a Potato, I wasn’t able to fulfil that request.
As a general rule, I like to save at least 1/4 of my crops, while saving every single gold-star crop. Those gold quality crops are important for when you start to rebuild the Community Center. If you don’t have enough crops by the end of the season, you will have to wait a whole year before you can try again.
Fruit Trees: a low maintenance jackpot!
You may be taken aback by the high cost to buy a fruit tree sapling from the local store, but in truth, they can be awesome endgame crop for a few simple reasons.
For starters, they are easy to maintain. They do not need water. You just stick them in the ground, and make sure they have 2 empty tiles in all directions. As long as no weeds or trees are growing in this space, the sapling will grow. After a season has passed, the tree will mature and will be able to produce fruit on its growing season.
Which brings us to our next pro: they grow fruit every day! That’s 28 harvests, per tree! That is fewer crops for you to water every day. Having multiple trees makes things even better when the trees are ready.
How do you like them apples?
Preparing for the end of the Season
Each season lasts 28 days. You will want to keep an eye on what you plant around this time. When the season rolls over, any remaining crops will die out. With that being said, count how many days are left in the season. Use this number to determine whether or not you should plant another crop.
I hope that this information helps you in your farming endeavors. Feel free to browse the site for more guides on Stardew Valley! On the fence on whether or not you should buy this game? Read my review for some more information!
Happy farming!